Late summer of 2016, I came across an image of an outdoor fireplace and like I do with so many idea images, I shared it with Mike. I’m not sure if it was my insistence on how cool it would be to have an outdoor fireplace or Mike’s love for a challenge, but for some reason he took on the project with the lofty goal of finishing it for that fall. Perhaps as a sweet birthday present to me.
Once Mike began building the structure and we finalized idea, the project had substantially grown beyond the initial intent. So, here we are over a year later…
The Before
The backyard provides some beautiful views as it rises on the hill for about 25 feet over a length of 100 feet. The stone steps that lead from the back of the house to the detached garage at the top of the hill sort of divide the yard into two sides: right and left. In order to make the yard somewhat usable, the previous owner had terraced some portions of it. However, some of the retaining walls were built out of timber and some others were just rubble. This meant we would eventually need to replace them if we wanted more defined terraces. As we began identifying which walls to replace first and which areas we should infill to improve their usability, the new backyard topography began to emerge.
Peek the old timber walls in the image below.
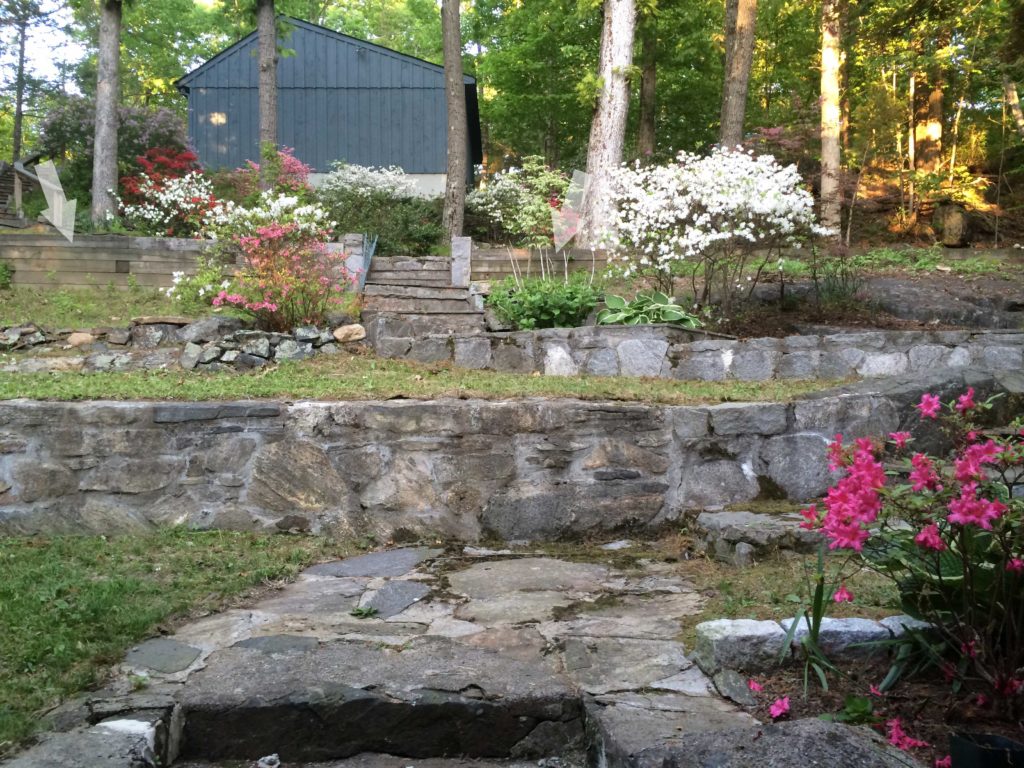
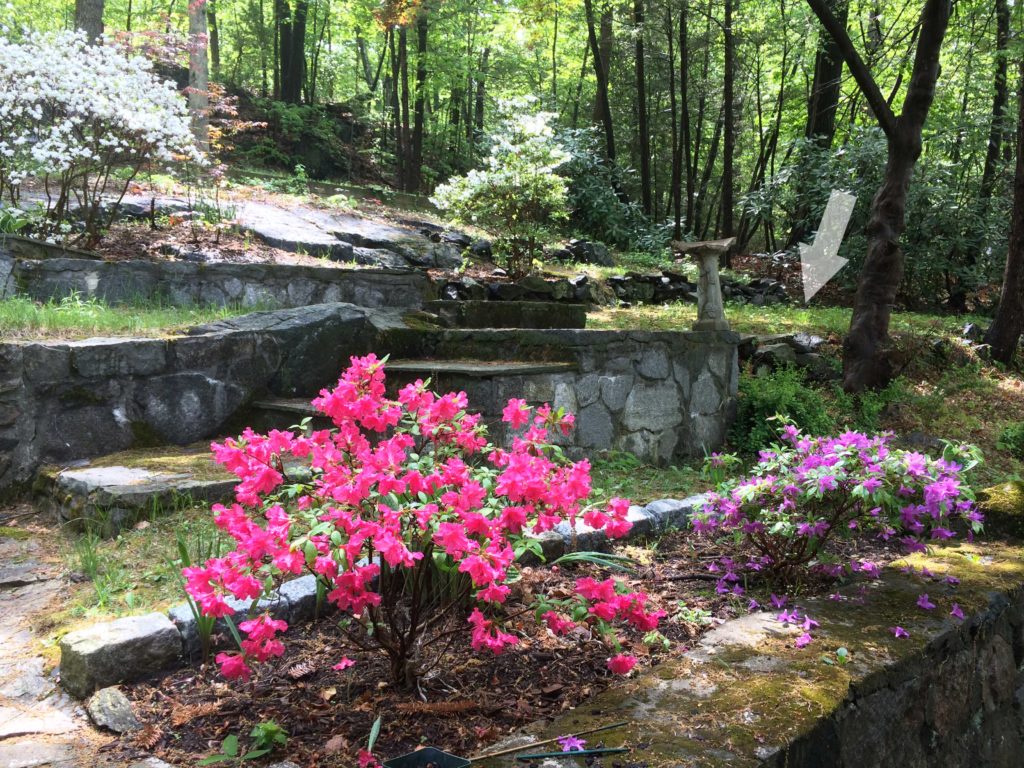
On the right side of the yard (use the pink flowers for reference), at the top of the first run of stone steps is the shadiest terrace. This area was mostly stone ledge and pretty much covered in weeds and moss. Grass didn’t really grow there, but we love the surrounding trees. So we had sort of determined this would be a good place for a paved patio but didn’t really have a specific plan. When the idea of a fireplace came up, we immediately knew it would be a part of this space.
Originally, this is what the area looked like.
Locating the Fireplace and Patio
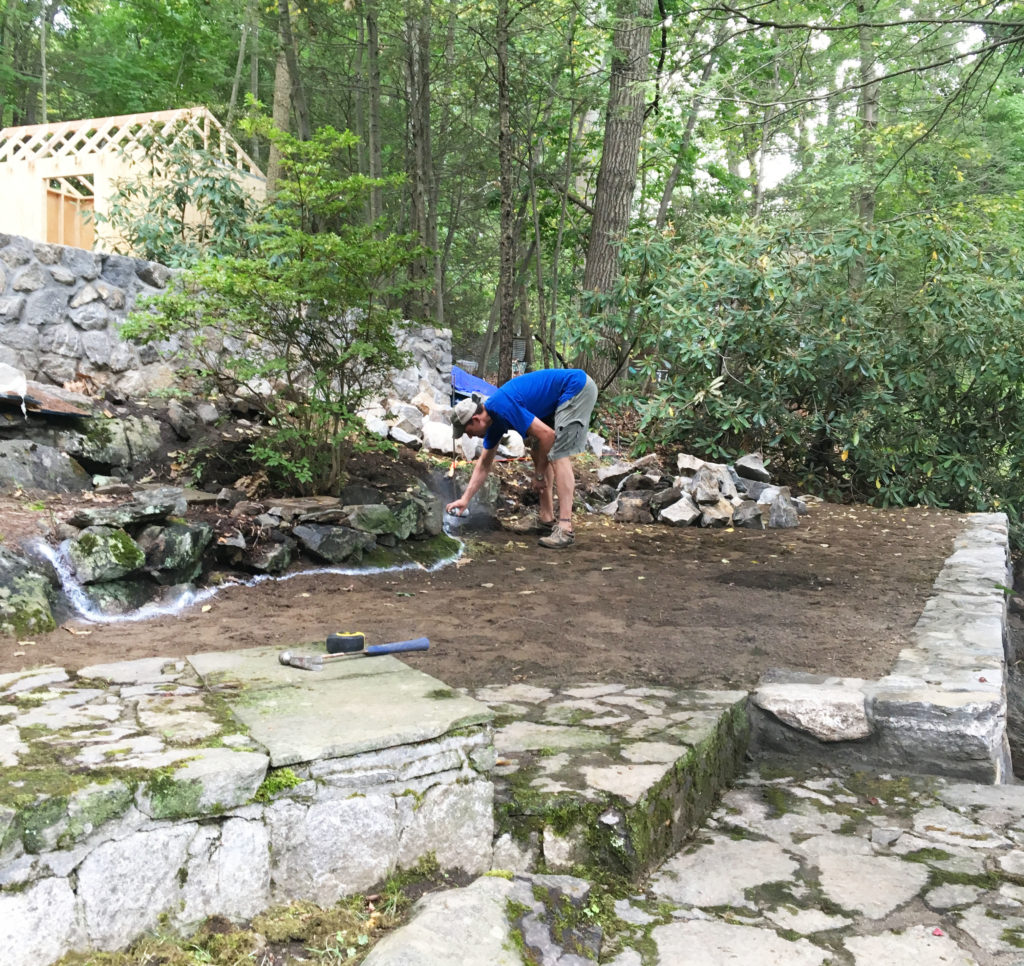
The first step was to define the new patio’s boundaries. Once we got rid of all the weeds and loose rocks, we identified the ledge boulders that marked the natural limits of what would be the new patio. Then, Mike proceeded to mark the exact locations for the new retaining walls that would replace the existing rubble walls.
DIY-ish Walls and Things to Keep in Mind
Building retaining walls is one of the jobs that falls on the ‘ish’ side of our ‘DIY-ish’ approach. While we we very involved in the design and oversight of the wall construction, we hired a small crew to actually build the walls. During the weekends, Mike met with the crew in order to set up the key elements of the walls including drainage, reinforcement (when required) and overall location. Then, they completed the work during the week, while we were away. This allowed us to keep a reasonable timeline on the project– until we began having to make decisions on finishes (more on that later in this post).
One of the most important aspects of building garden retaining walls is drainage, regardless of climate. If you are building retaining walls in warm or temperate areas, you want to make sure you don’t trap water within the walls since that can cause all kinds of landscape and mosquito issues. In cold climates, any trapped water can freeze during the winter months, which can cause the walls to crack. There are several methods to ensuring proper drainage around retaining walls and those can vary depending on specifics of the project.
In order to ensure water was able to flow ‘through’ the wall, Mike set pipe drains towards the bottom of the each wall. Additionally, he placed gravel at the foot of the walls, on the ‘uphill’ side. For the wall at the top of the patio, we made sure to leave enough depth above the gravel for adequate topsoil so we could attempt to grow grass on that terrace next spring.
The Outdoor Fireplace Build
After building the walls, it was time to lay out the foundation for the fireplace. At that point, we quickly sketched out some ideas based on the new retaining wall locations and with the sizes of standard fire boxes in mind. Then, Mike set up gravel, waterproofing, reinforcing and pour forms around the existing boulder.
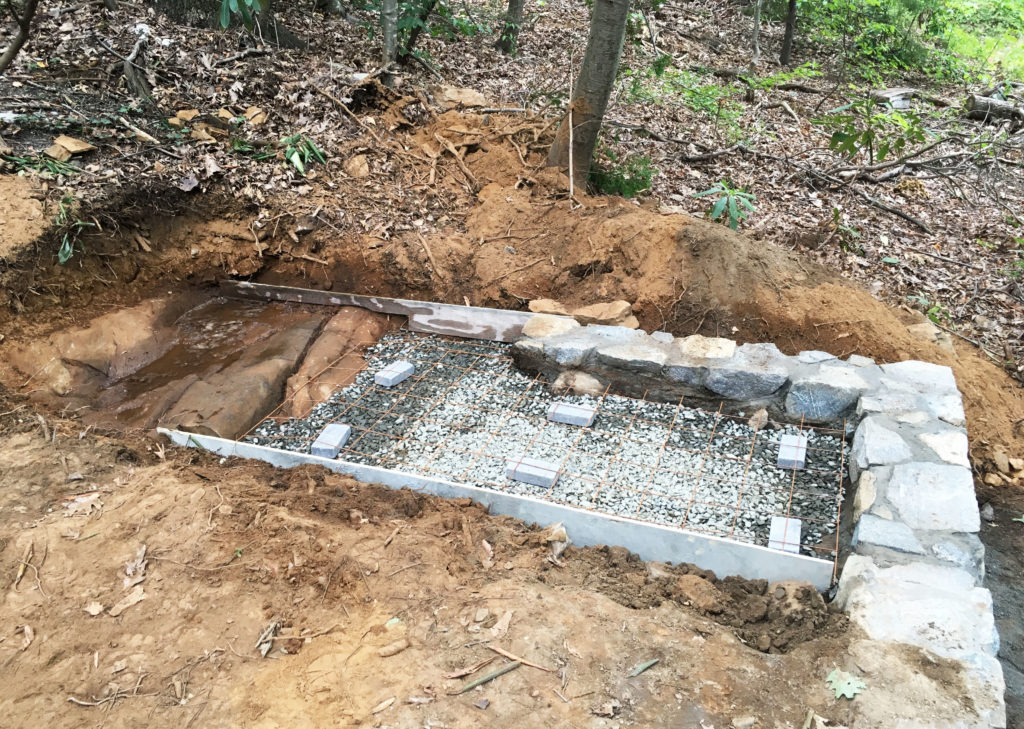
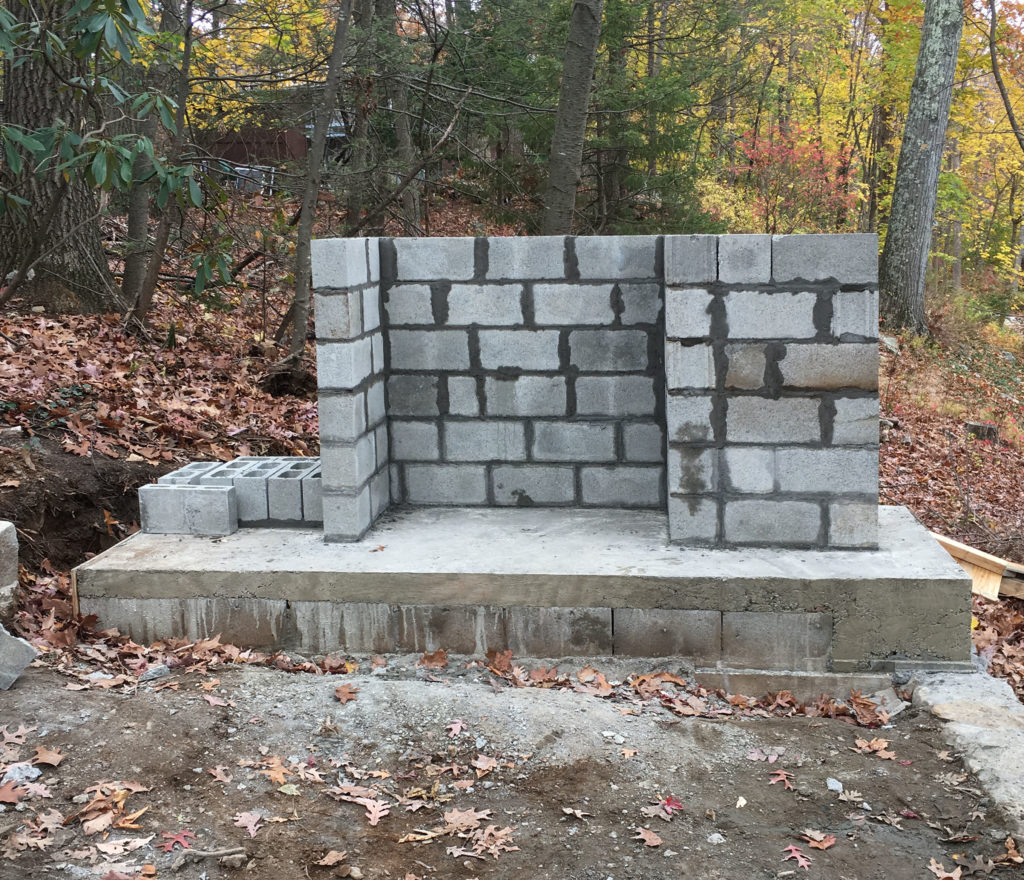
After mixing about 50 bags of ready-mix, Mike finished the pour and we were ready to start the masonry work on the fireplace structure.The actual fireplace structure was fairly straightforward after that point.
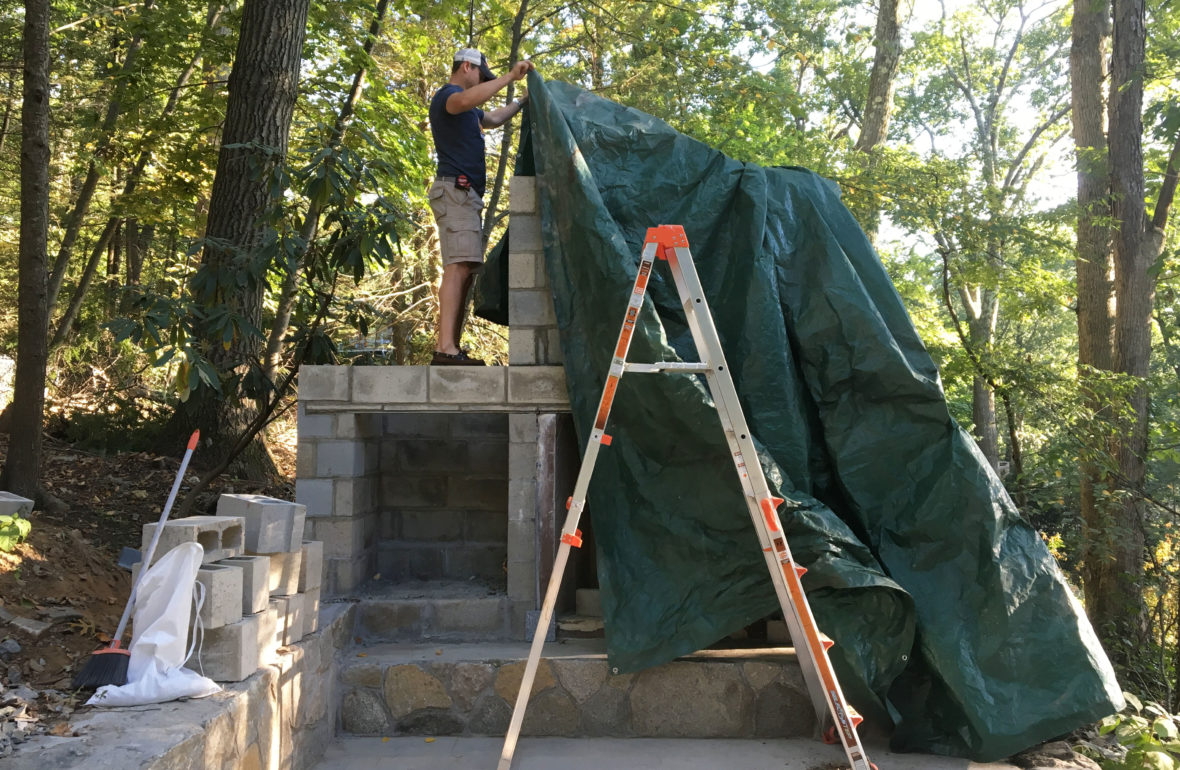
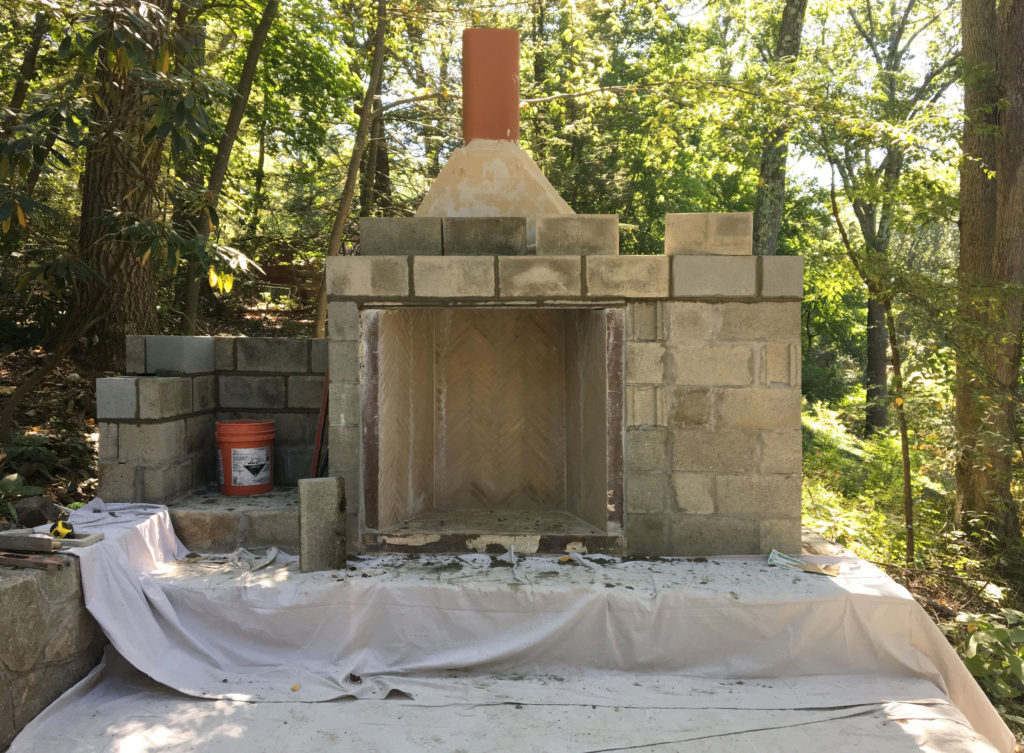
The only tricky part, which we left to the pros, was setting the firebox, lintel and connecting the flue. This part was the most delicate portion of the build, since it required fire mortar, which behaves very differently than regular mortar. The material is very gooey and sticks to everything. It also settles considerably and oozes out of the joints a lot more than regular mortar, so familiarity with the product is definitely required for a successful installation. The last step required to finish the fire box is to bake the whole assembly under a fire or two. However, we needed to cap the flue and finish the structure before lighting the first fire. In the meantime, we needed to keep the fireplace protected from the rain.
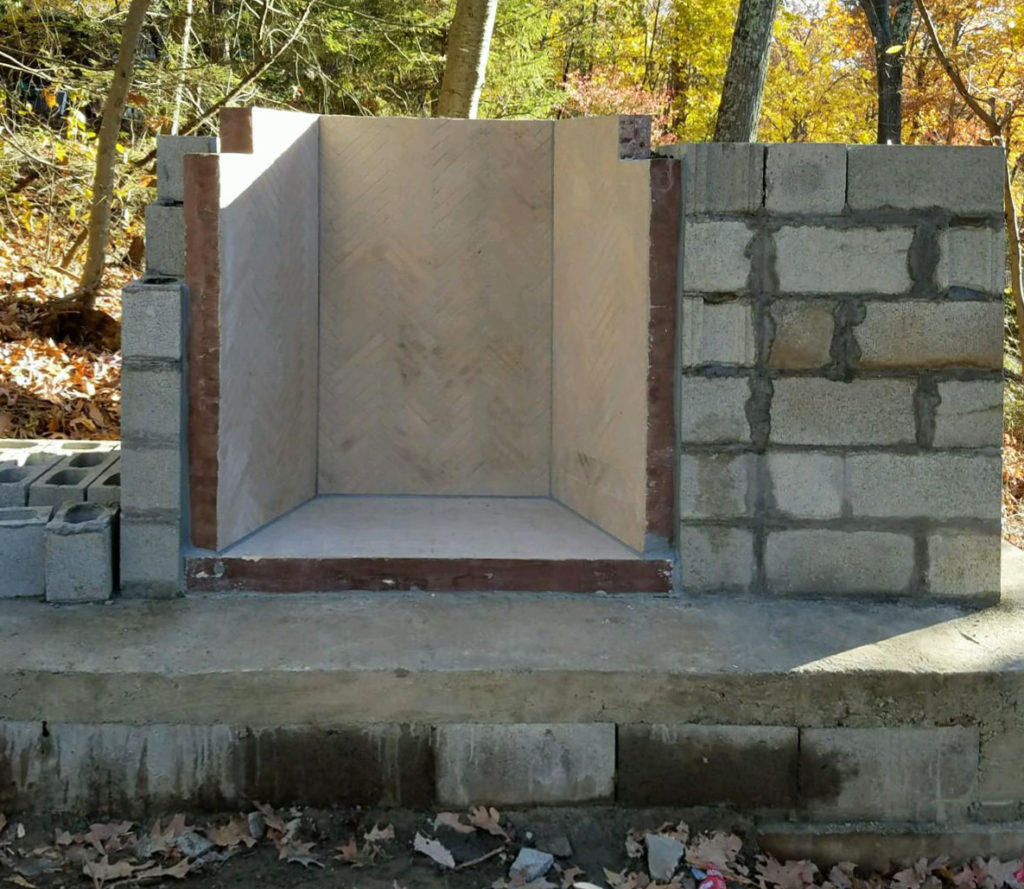
The cream colored material below the terracotta flue is the fire mortar.
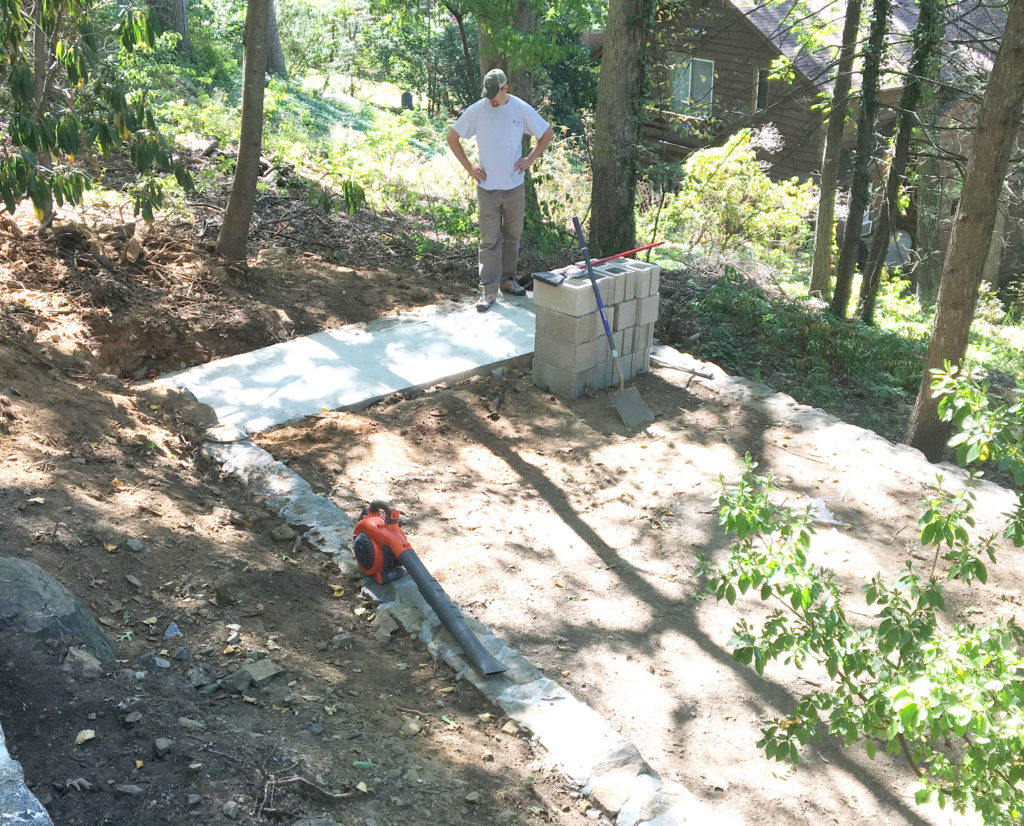
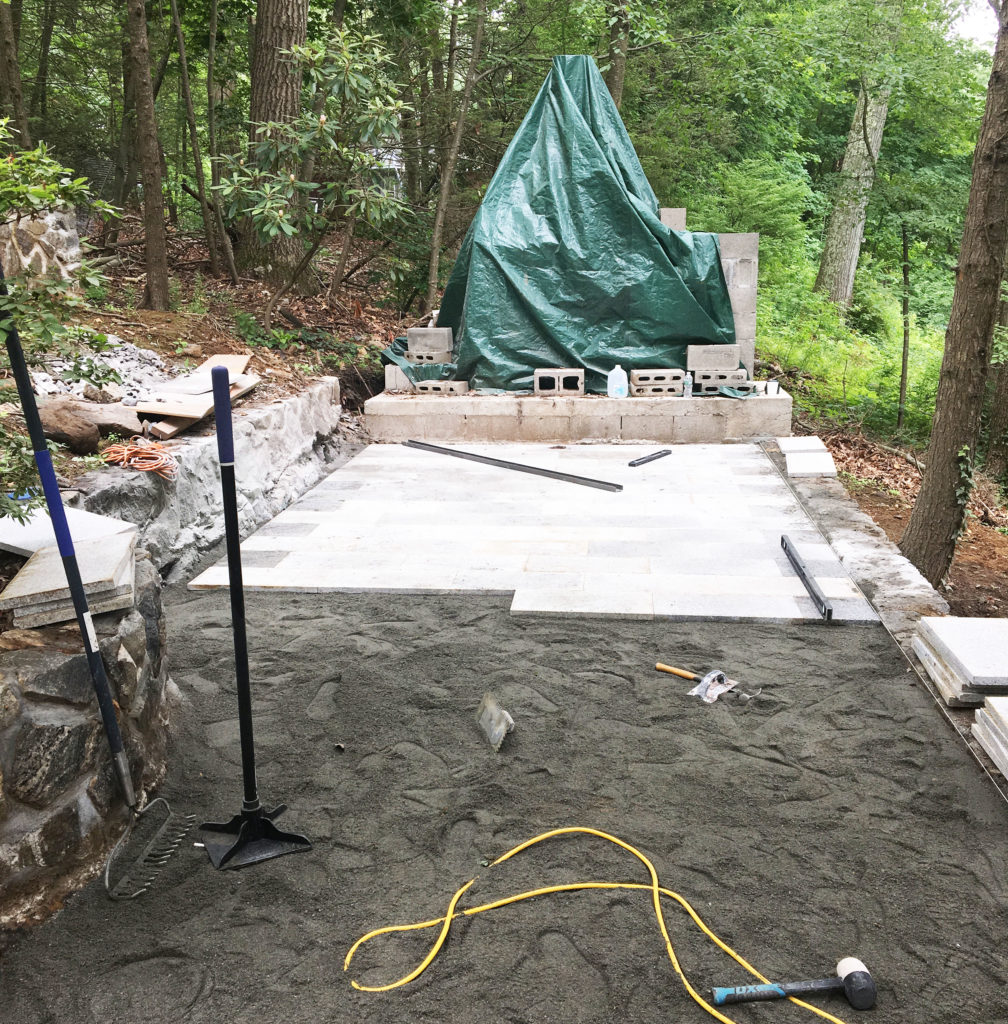
Laying out the Patio Pavers
Most zoning codes typically have ‘pervious’ surface requirements. This is basically designed so that people don’t pave their entire yards with impermeable materials like asphalt, which would have many undesirable results. In order to meet the town’s pervious surface requirements, we had to build this as a permeable surface that would drain directly to the soil below. So we designed the patio as a dry stack paver system. This means we laid out 1-1/4″x 12″ x 24″pavers over stone dust without any mortar.
Final touches
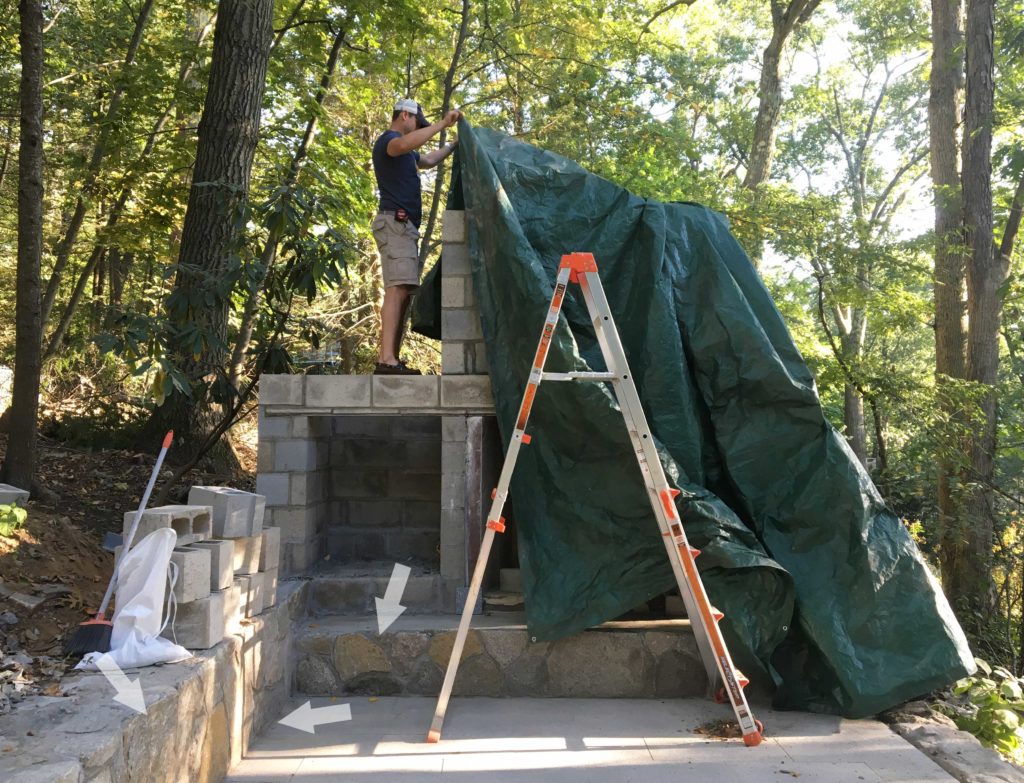
In order to make sure the top retaining wall and the patio met nicely, Mike decided to lay out the patio before finishing the face of the wall. The idea was to complete the face of that wall and the face stone at the base of the fireplace at the same time. This would help us ensure the walls and flooring met at square corners.
Compare the areas pointed out below to the image above.
Delays(!!) and Next Steps
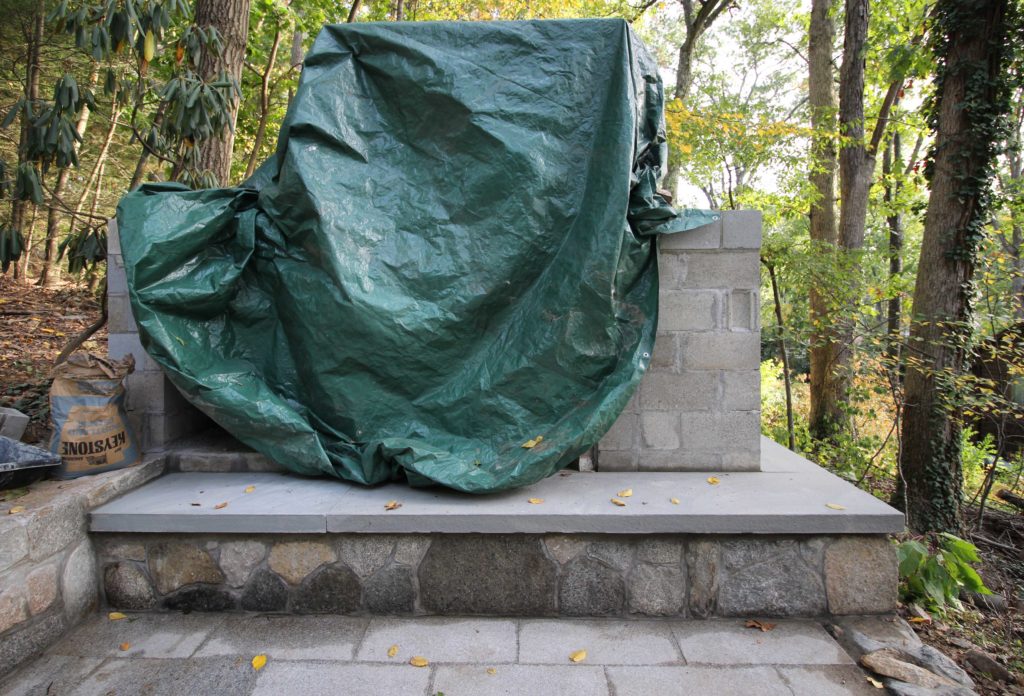
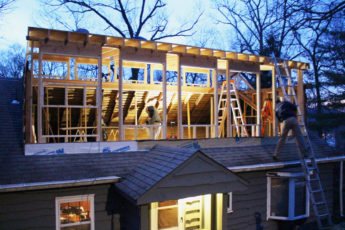
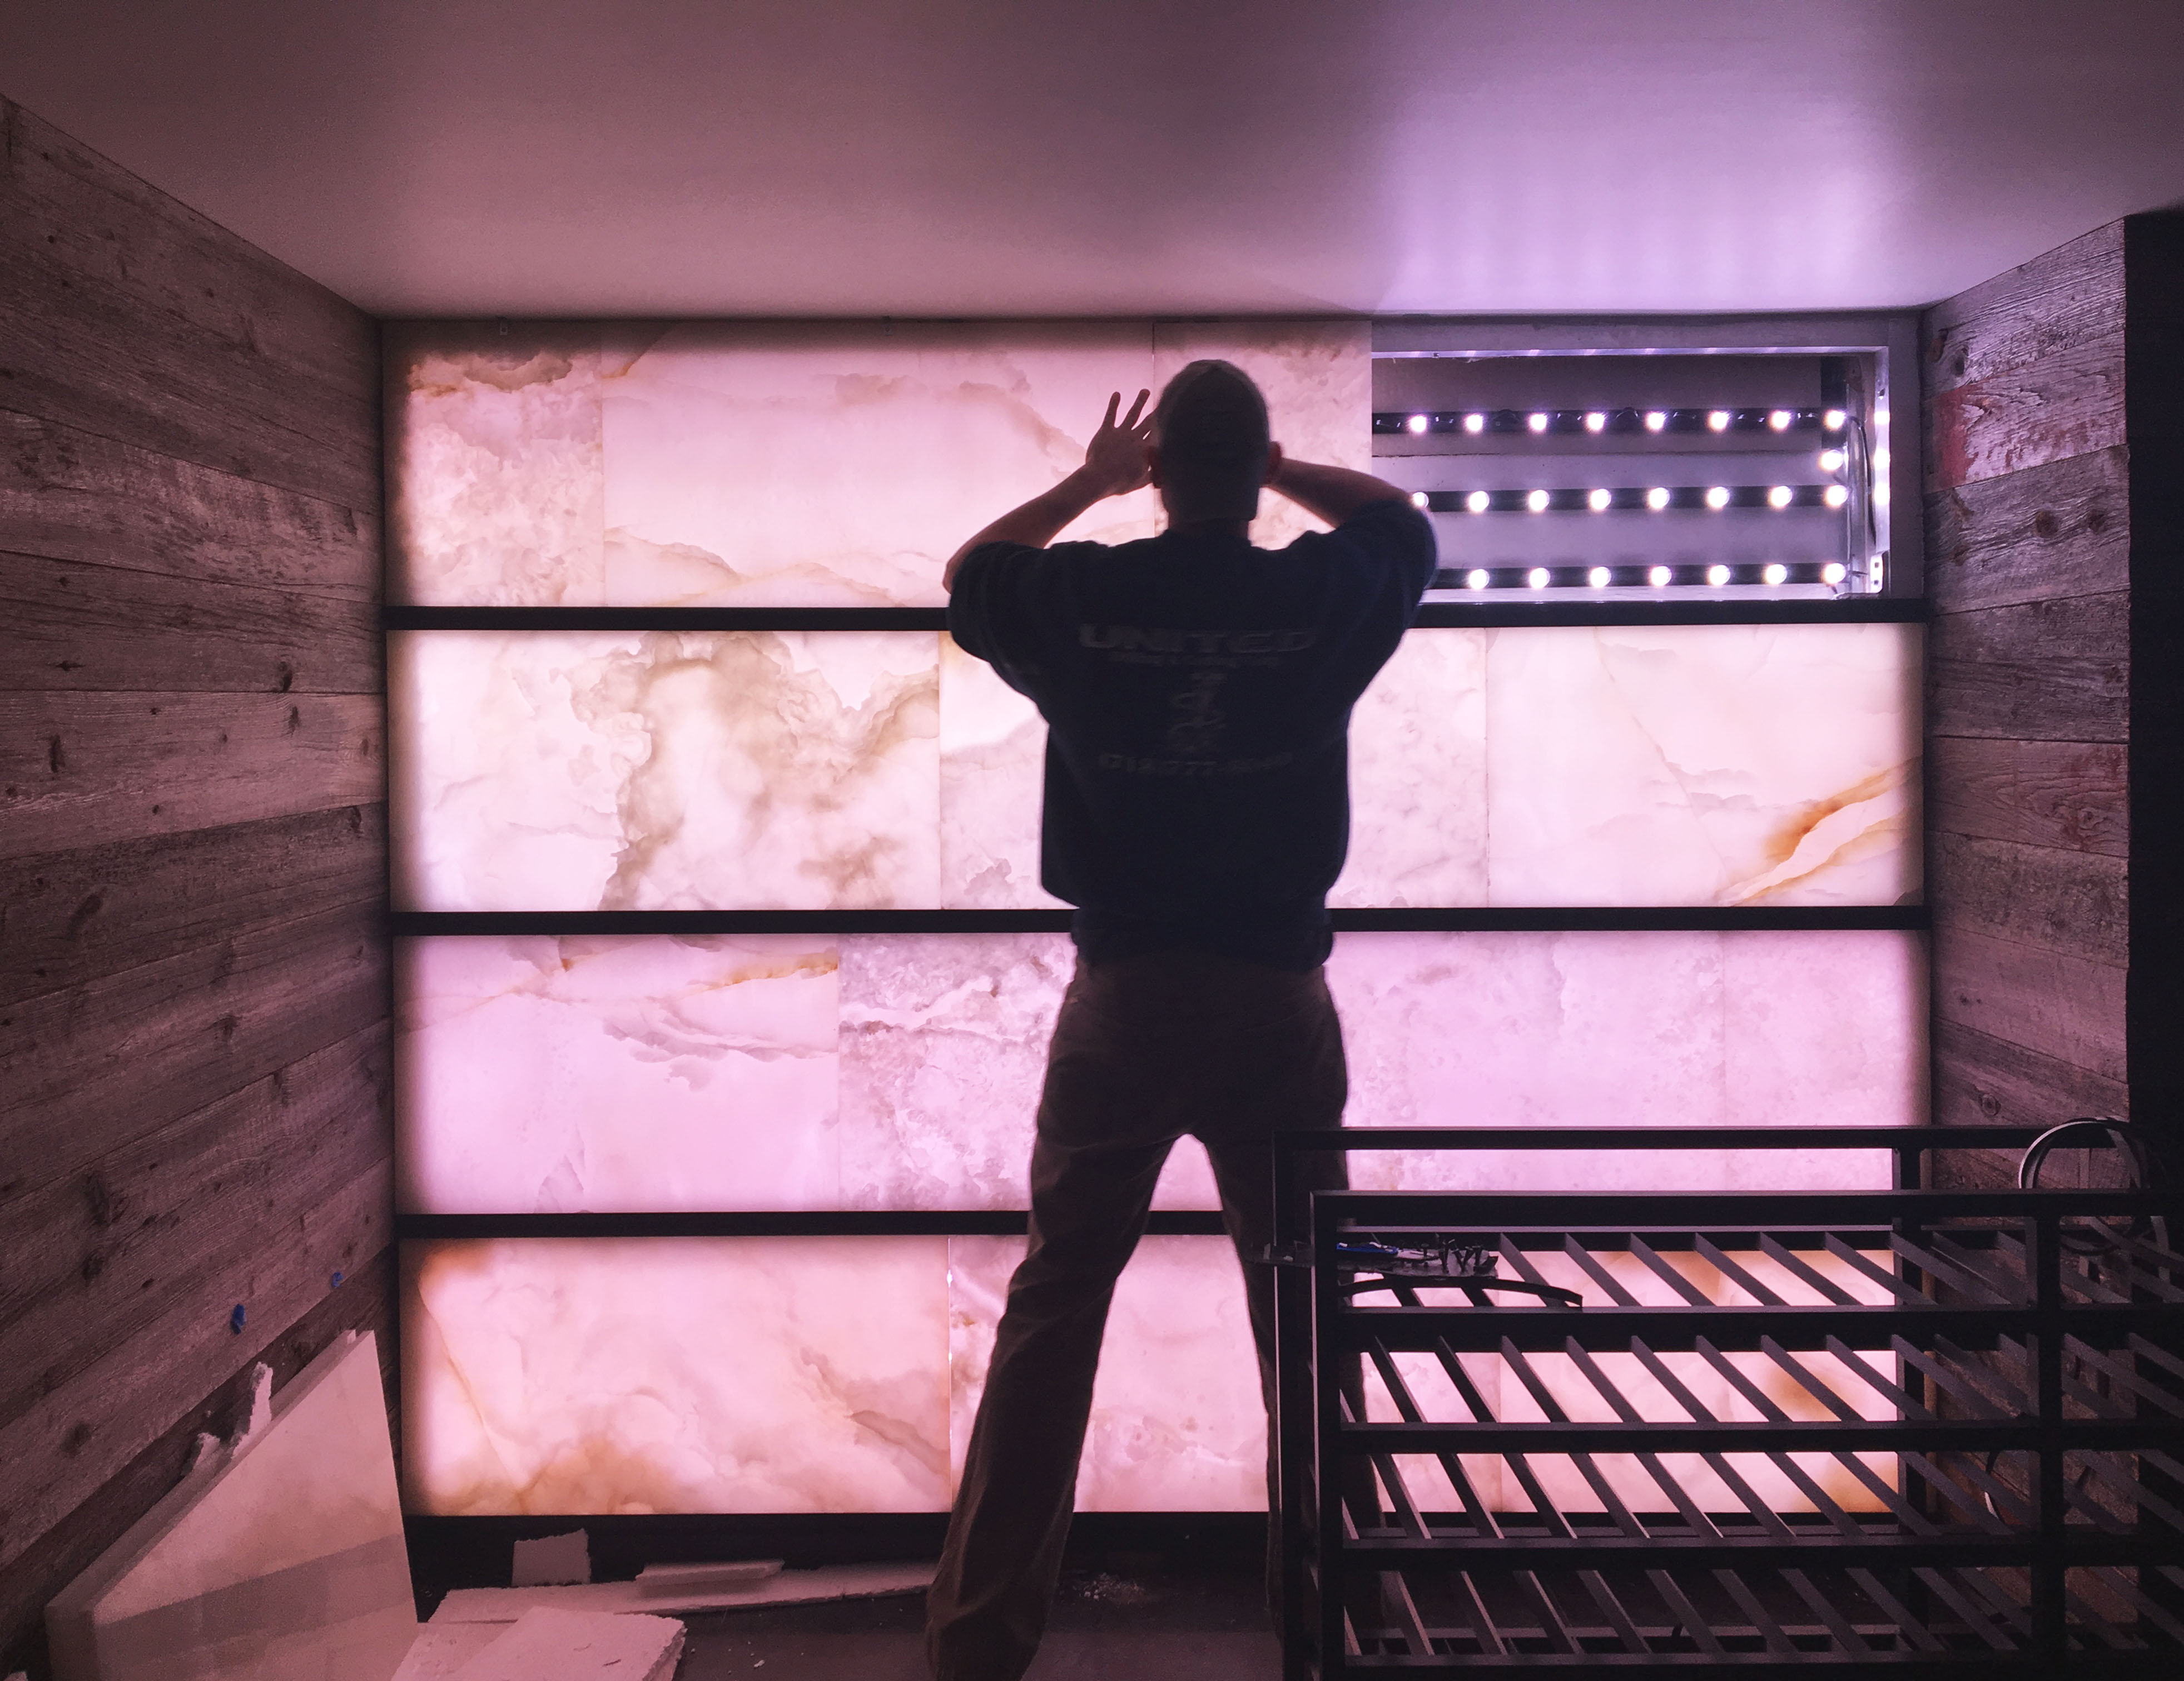
Most recently, Mike capped the flue and set the 3″ blue stone hearthstone (with the help of a couple of people– that thing is heavy!!) Right now, we are ready to clad the fireplace with some type of honed granite, but have been having a hard time finding the right stone. That pending decision and the change in seasons have put the project on hold for a couple of months at a time, extending the total timeline to over a year. Additionally, we were in the midst of raising the roof and were still finalizing details in the wine cellar, so we weren’t 100% focused on finishing the fireplace until now.
As of writing this post, we have not yet found stone we like and it seems we will probably not have the material on hand before it gets too cold to install it. We will probably finish the fireplace at some point in the spring.
Despite the bare concrete block, we are so excited to use the space that we have already ordered the majority of the furniture and are hoping this beautiful fall weather lasts a few more weeks so we can bake in the firebox and mortar. Meanwhile, the fireplace will continue sporting its trusty green tarp. Hopefully, we’ll have exciting news to share sooner rather than later about the stone finish selection!
What’s Next on the Blog
As we get caught up documenting the completed work, we will begin working on more focused and detailed ‘how-to’ posts. In the meantime, if you have any questions about any of our projects, let us know, we’d love to hear from you!


 ‘No Small Plans’ is a work in progress. The original intent is to use this space to document and share, through photographs, drawings and product information, the (eventual) complete